Howto: On Click Unity Animations
Hello, Today I'm going to teach you how to script and implement animations into Unity that activate when clicked on.
In this tutorial I'm not going to explain how to animate an object and will be assuming you already know how to do that. With that out of the way, let's get going!
Step 1: Adding in your model
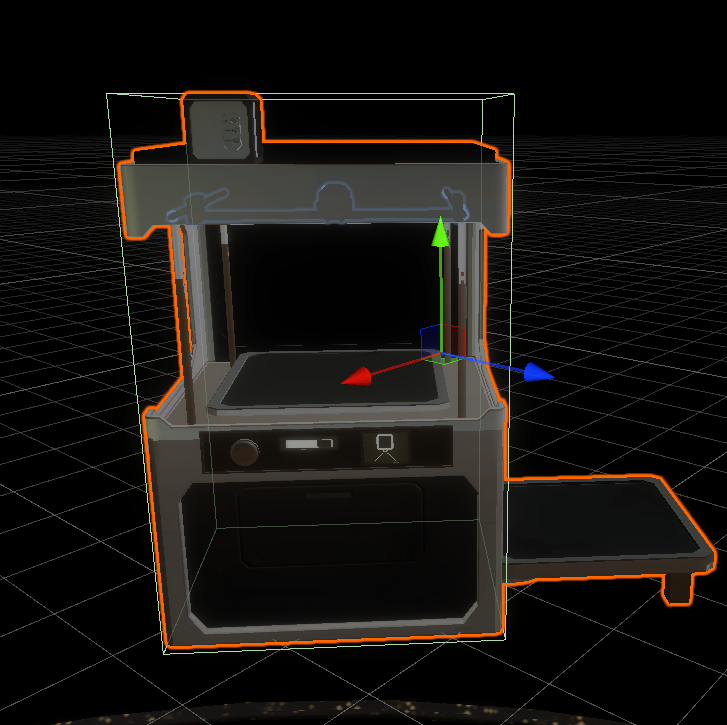
For this quick simple step, you want to make sure you add in an fbx of your model into unity and ensure your animation is exporting with the fbx. You'll know you've done it right when you see your model in unity with an arrow to the right.

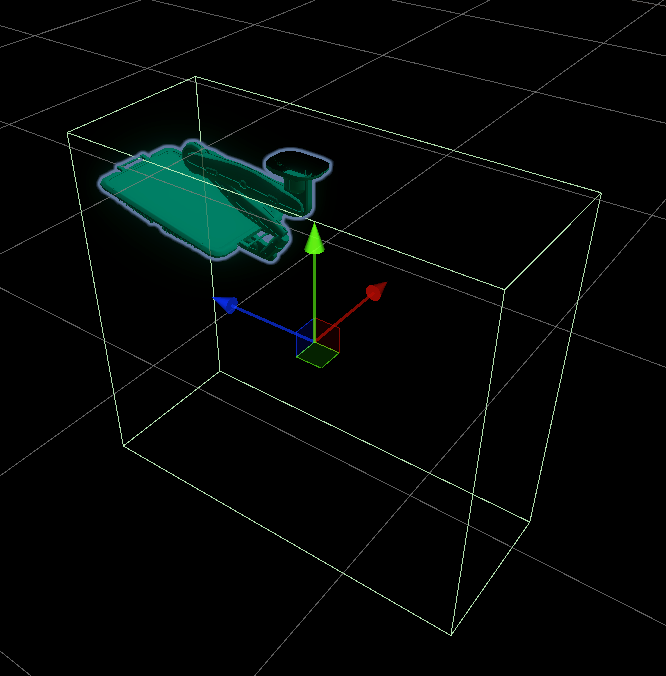
This is what should show when you click on the arrow. It has a material, the mesh, bones, and your animation ( The mint triangle with the dash lines). Add the object into your game scene, anywhere in any scene will do for now while we work on it.
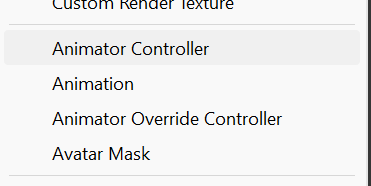
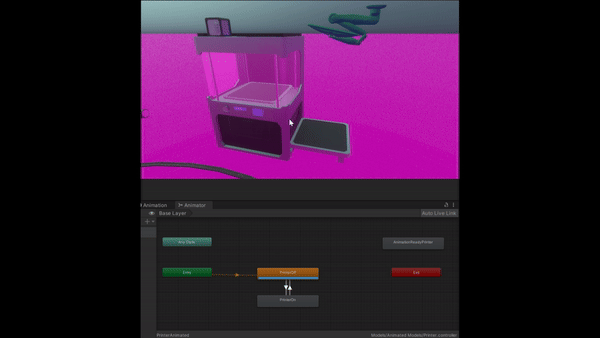
In the hierarchy, click on your animated object and add a component. We're going to add an Animator, make sure you don't click Animation. In the project tab (I added mine near the animated object) create an Animation Controller.
Name it something simple but unique enough to not confuse with another object or animation controller. I named mine after the object it's getting attached to. Plug in the Animator Controller into the Animator component. Now we're ready to start animating.
Step 2: Remake the Animation
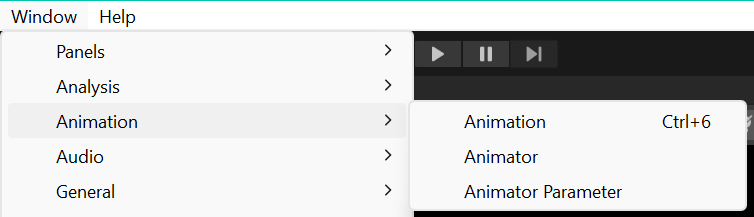
Now this step may sound scary but it's not. You have your animation built into your model already. At the top of Unity go to Window>Animation and open Animation and Animator
Put the new windows somewhere convenient for you, I prefer mine at the bottom of the page next to Project and Console. With these two open, click on the animation that imported with your model and open the Animation window to look at your keyframes. To make sure your animation looks right and there are no keyframes you want to get rid of, click on the model in the scene. Scrub the timeline in the Animation window to check your work. If your model disappears from view and goes somewhere else, there are most likely extra keyframes that are unnecessary.
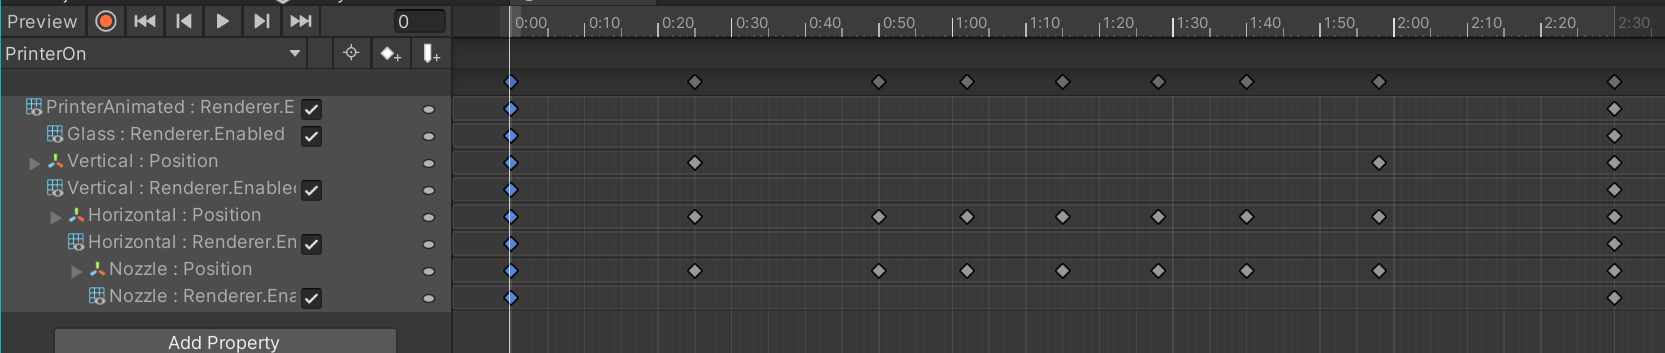
 Here where the keyframes are highlighted, the entire model has keyframes for a position. Since it is an imported animation, we can't edit it. We can however copy and paste keyframes, which we will get to do a bunch in this tutorial. Back in the Project tab, find your animated model, right click, select create>animation. This will create a new animation, name it something short and easy to find later. For this model I called it "PrinterOn". Go back to the imported animation, select all needed keyframes and copy them. Go back to the new animation you created in Unity and paste the keys back in.
With the new animation still selected go into Animator and right click in an empty space.
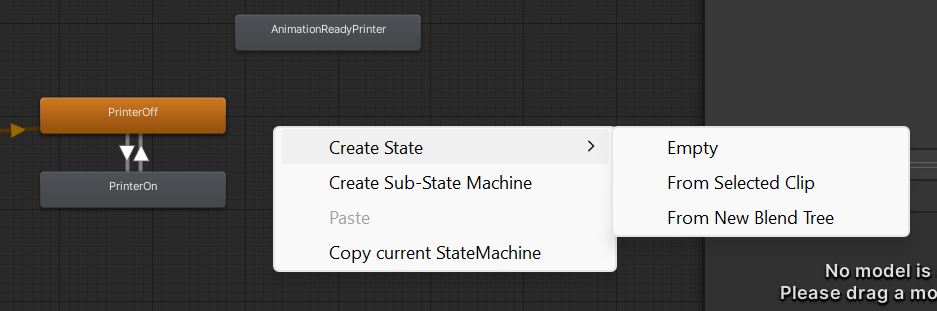
Scroll over Create State and click From Selected Clip. This will bring in the clip you just created. However just adding in the clip won't do anything just yet. Now we need a default state for the object to be in or it will keep looping. Go back to Project and make another animation, call it something like closed, off, or even just default. I called mine PrinterOff for this example.
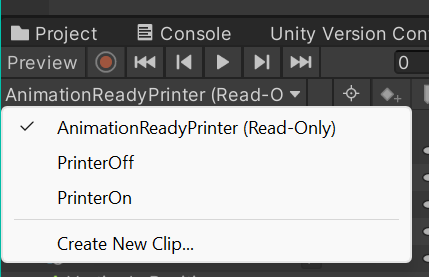
Go back into Animator and add the default animation in. I know it feels like I skipped a step but we're getting there. Adding the clip into the animator first will help when switching between the animations. Click on the object in the hierarchy or the scene. Then in animations you should be able to see the name of your animation in the left upper corner. When you clip it, you should be able to see all the clips that are in the Animator.
Select your open animation, or what ever animation you have that you want to run when you click on the object. In the open animation, find the keyframes that you want to be your default resting state. Copy them and paste them over to the default animation. For my default I only need the one still frame.

This example is for a single looping animation. One where you want to click it to activate the animation to run fully. But let me show you how to do it if you want to animate something opening, holding, and then closing.
Step 2.5: Animating Chunks
For this part of the example I will use the monitor arm. I want to click it to have it open, and only have it go back when clicked again.
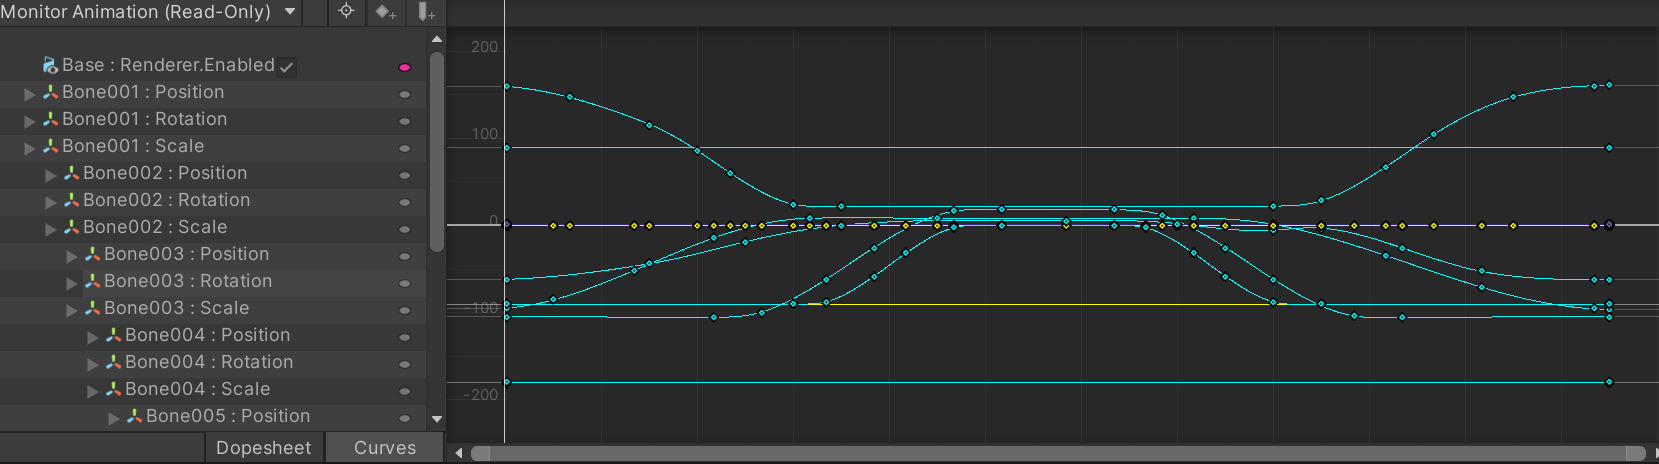
As you can see from the imported animation, my animation loops and is symmetrical. Just like we did before we are going to need to create duplicate animations so we can edit them. Create 4 new animation clips and name them conveniently. I named mine "MonitorOpen", "MonitorOpening", MonitorClose", and "MonitorClosing". Add all of these the the Animator for easy access, and click on the object in scene. My default state is the closed position and the start and end of my full animation. Select the keys for the close, and add them to the "close" animation.
From the close, my object opens, select all the keys that open the object and copy them into the "opening" animation. Select the final open key and copy it into "Open". Back in the imported animation, Select all the keys that close the object again and copy them to "Closing".
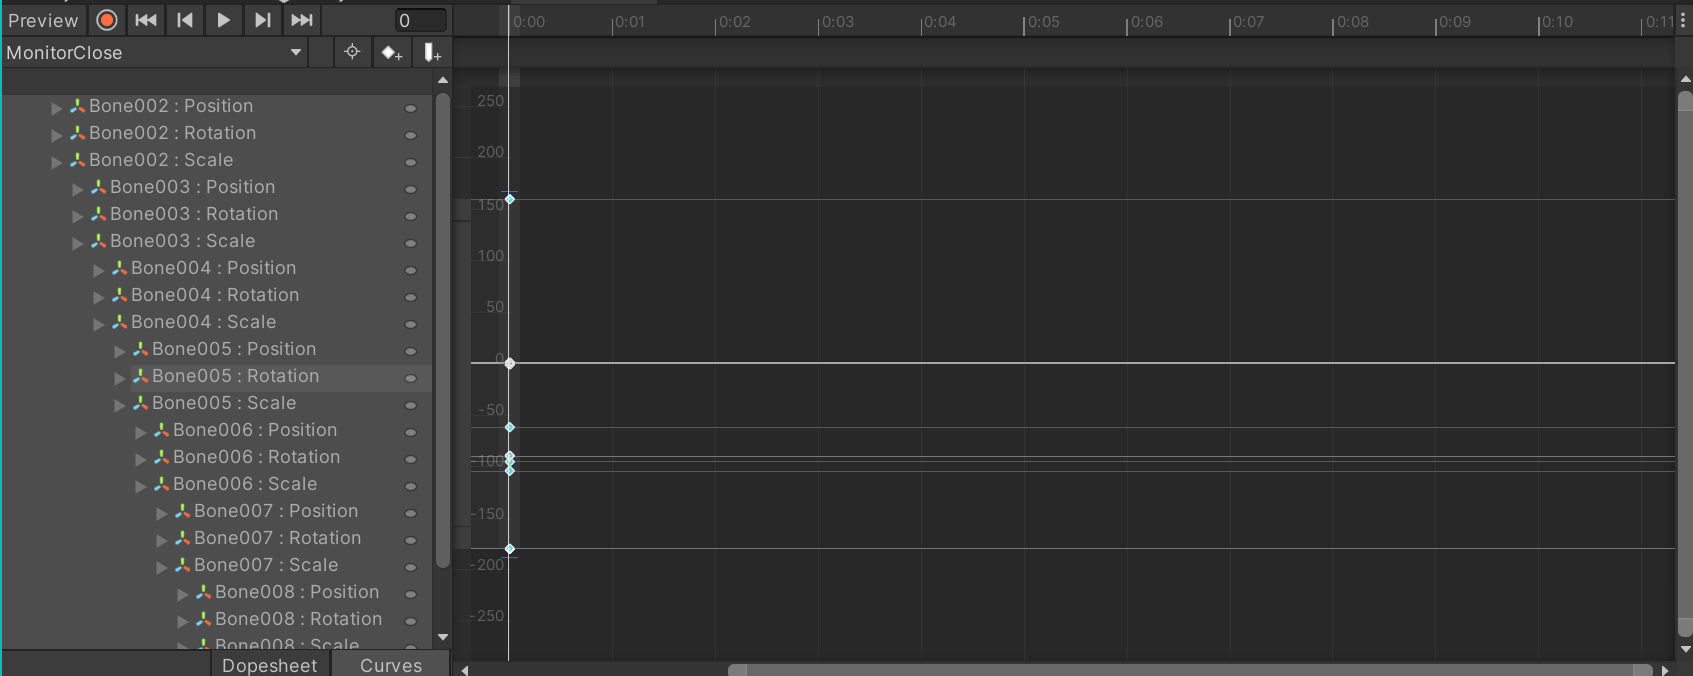
Close (First and last keys)
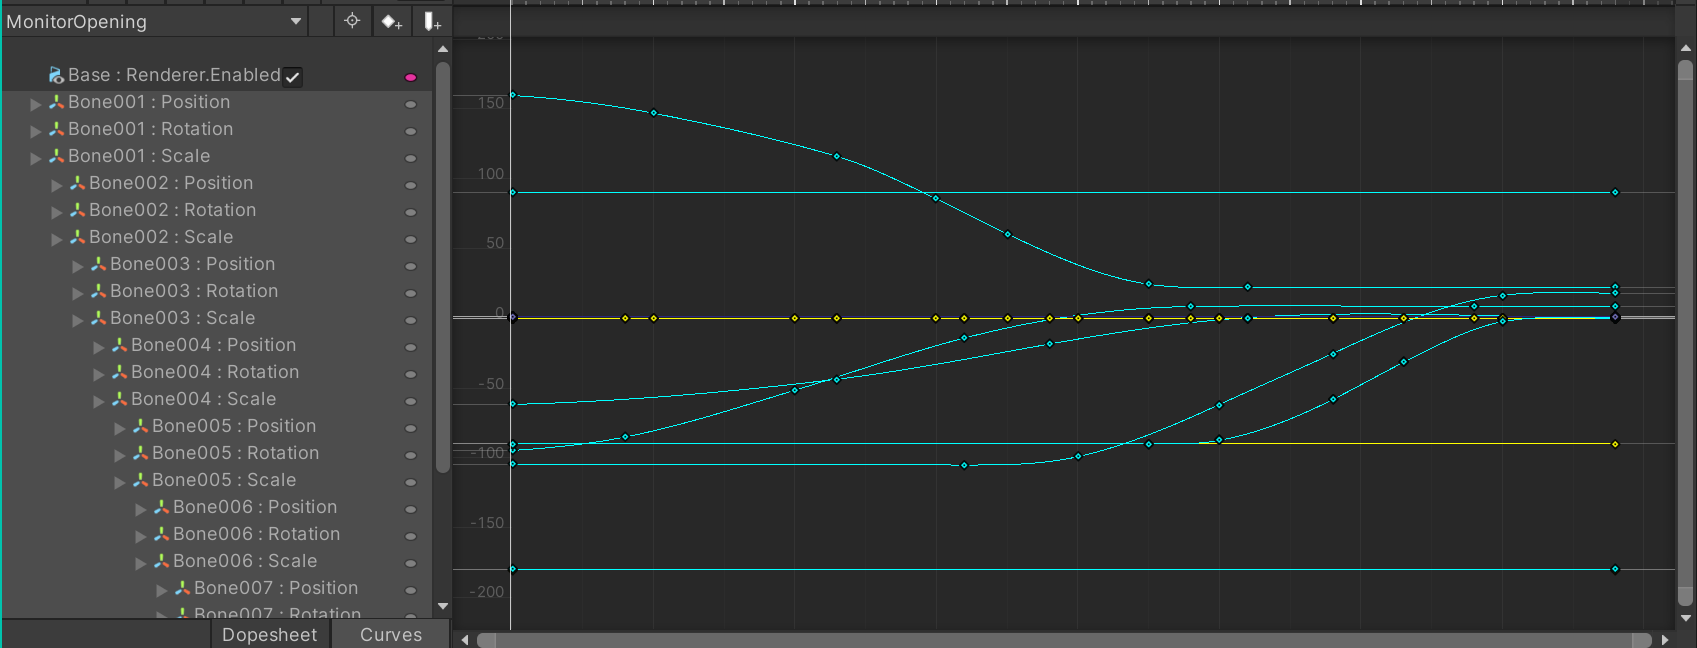
Opening (first half of the key frames)
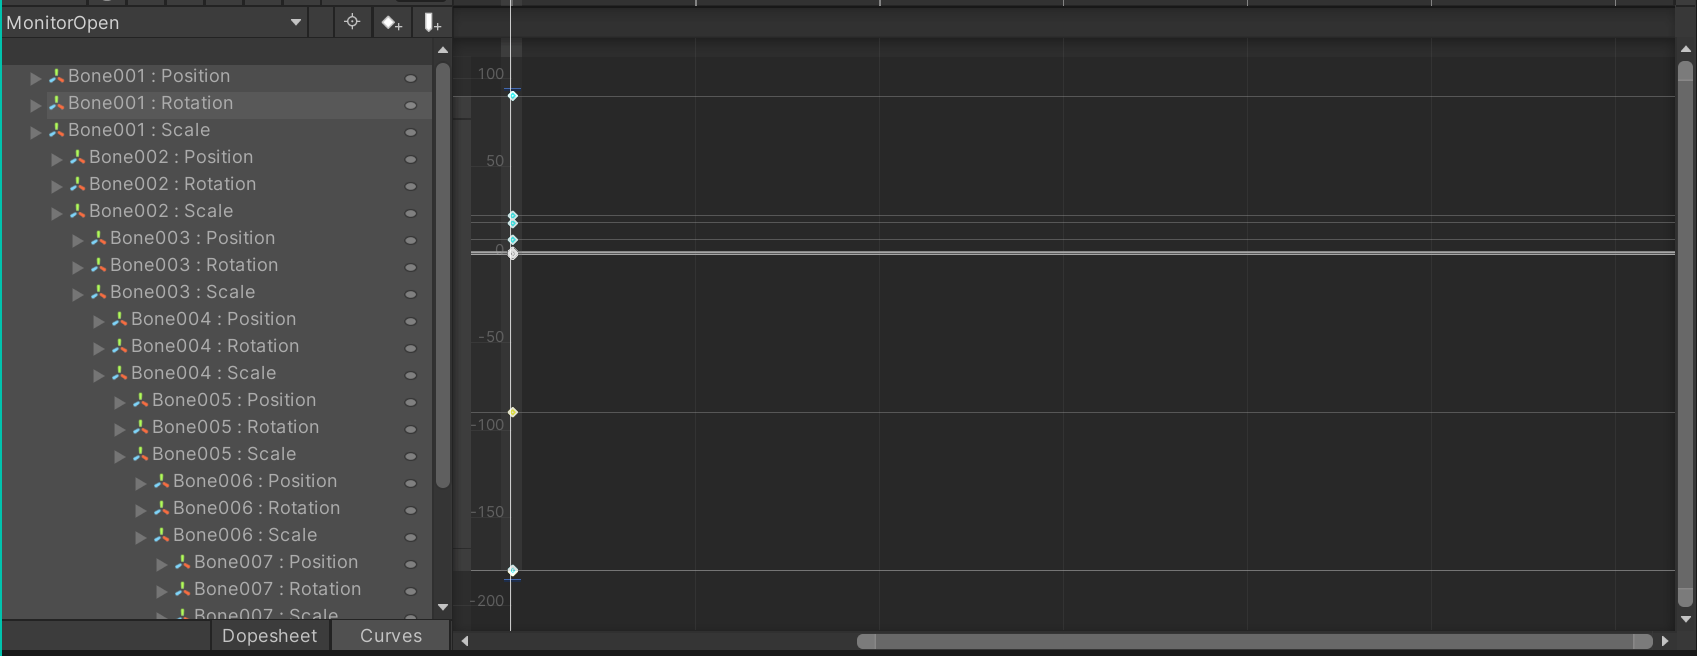
Open (middle Keys)
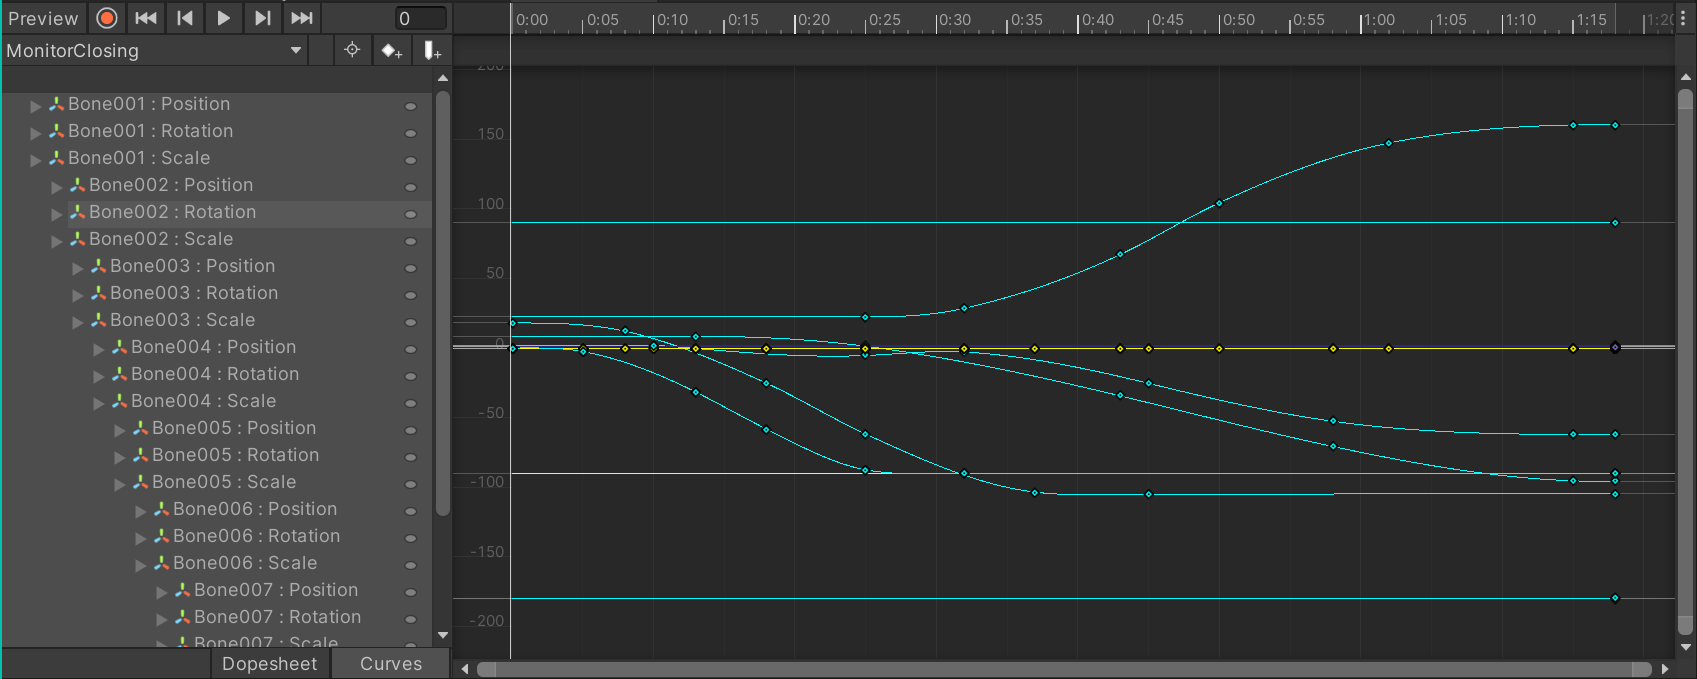
Closing (Second half of the key frames)
Now that all our animations are set up, we can finally start linking them together and getting them to work in game.
Step 3: Hooking up the Animations with Transitions
Open the Animator to whichever object you want to work on first, I'll start with the easier one first.
Right Click your default clip and select "Set as Default State" This will turn the clip orange and make it link to Entry
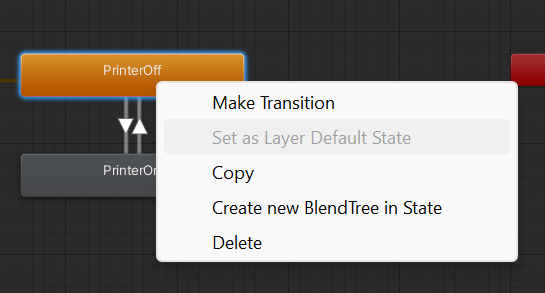
Right Click on the default clip again and select "Make Transition" and link the default to the moving animation. We're going to need this cycle to repeat to make a transition from the moving animation back up to the default animation.
In the upper left corner of the animator, switch Layers to Parameters.
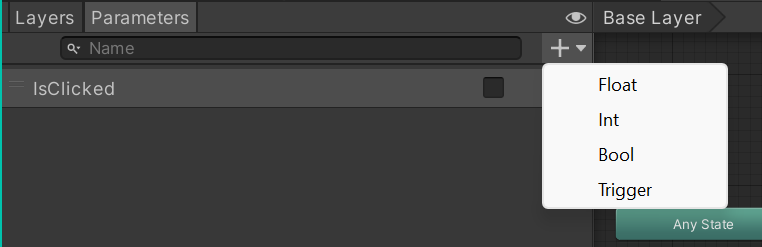
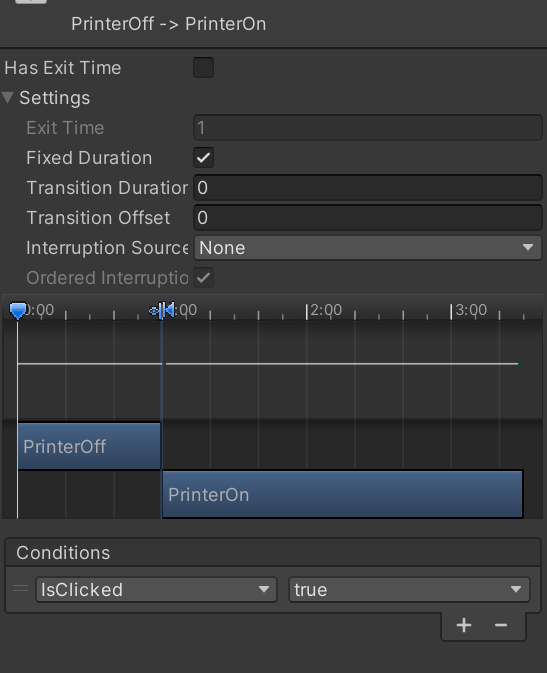
Click the plus sign and add a Bool. Name the bool "IsClicked" this naming is important later, name it exactly. Click on the transition arrow going FROM default to moving and uncheck "Has Exit Time", open the settings all the way and make sure the numbers are 0. At the bottom where it says Conditions, click the plus sign. It should automatically add "IsClicked" and it's stated to be true. Leave this, it's correct.
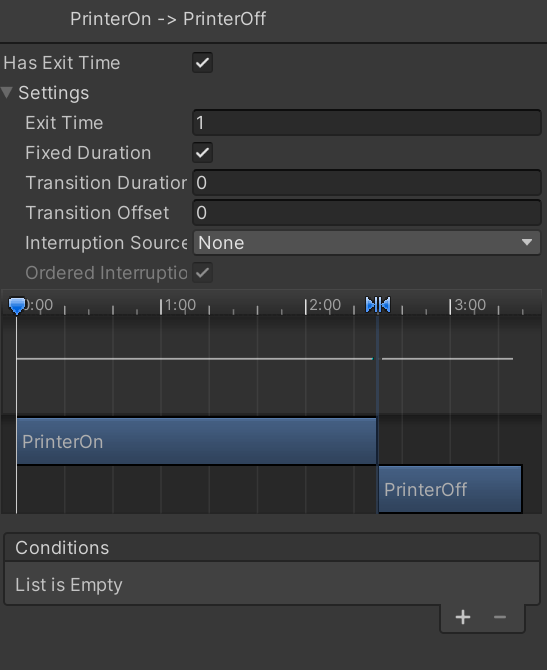
Now click on the transition arrow going FROM the moving to the default. This time do not unclick "Has Exit Time" In the settings where you see Exit Time and a number, that number represents the percentage of the animation you want to play before it transitions to the next animation, personally I want it to play 100% of my animation before transitioning, so I have my exit time set to 1. You can change this to your preference.
Now for the slightly more difficult "Open, Opening, Close, Closing" Animations.
Step 3.5: Open, Opening, Close, and Closing Transitions
Go to the object that has these 4 (If you have one, if not go to step 4). In the Animator Arrange your 4 animations in a square as seen below.
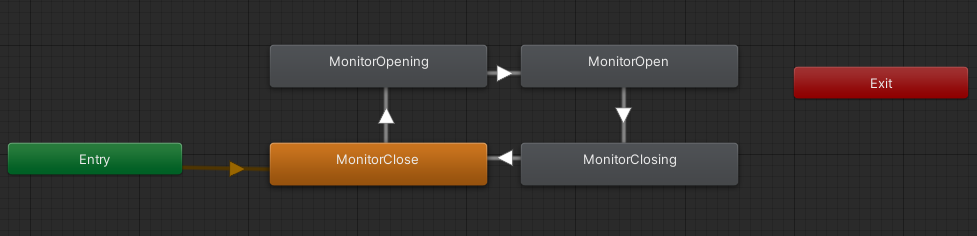
The default is attached to the entry just like before but now these need to loop in a "circle". Close will transition to the Opening animation, which will transition to staying Open. Then the Open position will transition to Closing, which will go back to the Close position to start all over again. I want the Close and Open position be where I click on the object to trigger an animation. Create the exact same parameter as before; a Bool named IsClicked.
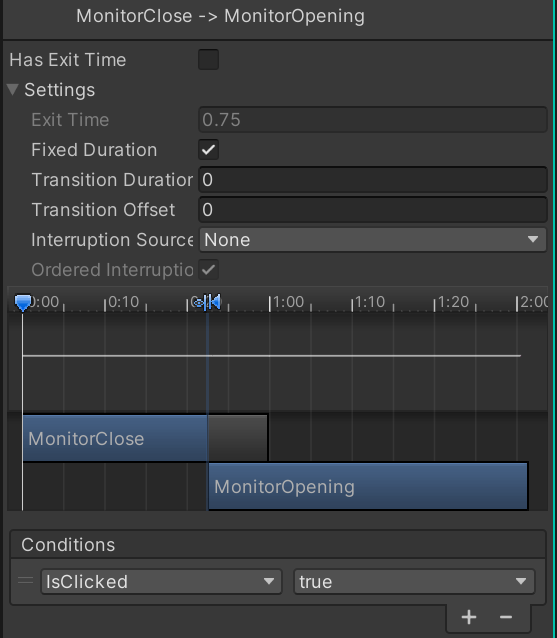
Set the Close to Opening and Open to Closing transitions the same way we did with default to open before. Unclick Has Exit Time, zero out transition times and set the Condition to "IsClicked True"
For the other two transitions, I want those to occur smoothly and by themselves just like moving to Default.
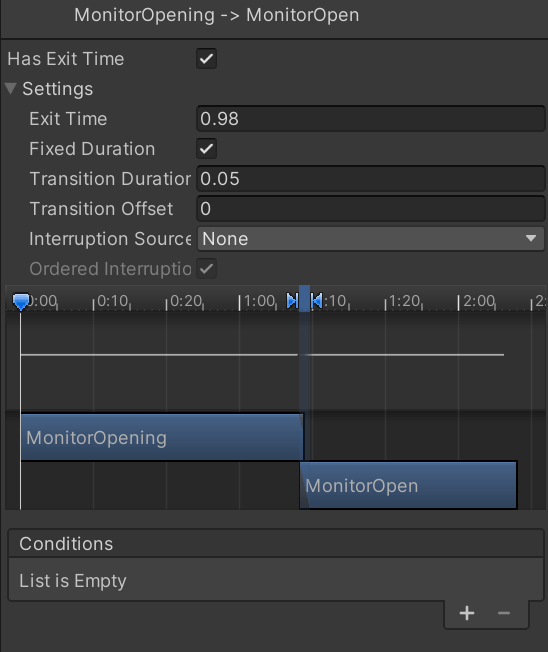
For this one I played with the Exit Time and Transition Duration. There isn't much of a difference because of how little time I gave it but also because of how I animated them. Once again, it's up to preference.
With these set you now need to create a script that will tell the Animator what "IsClicked" means. I know, scary and gross, but don't worry, I got you covered.
Step 4: Coding
Create a script and name it Click or something similar, copy the code below and add it to your script.
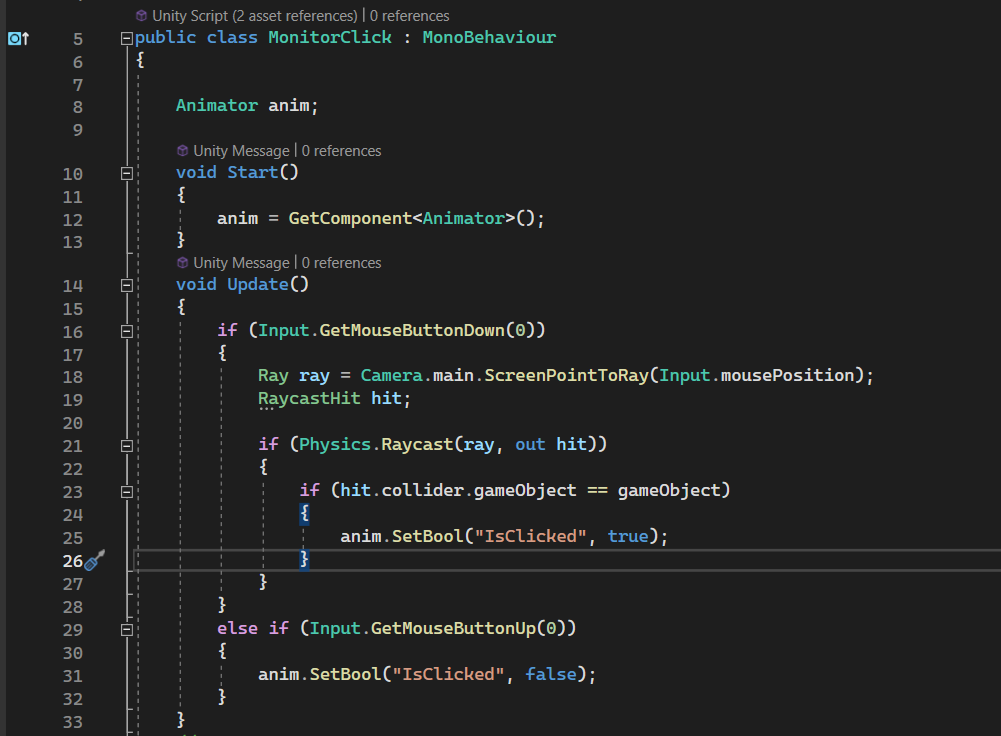
Animator anim;
void Start()
{
anim = GetComponent<Animator>();
}
void Update()
{
if (Input.GetMouseButtonDown(0))
{
Ray ray = Camera.main.ScreenPointToRay(Input.mousePosition);
RaycastHit hit;
if (Physics.Raycast(ray, out hit))
{
if (hit.collider.gameObject == gameObject)
{
anim.SetBool("IsClicked", true);
}
}
}
else if (Input.GetMouseButtonUp(0))
{
anim.SetBool("IsClicked", false);
}
This script will work on any animations you want to activate when clicked on. So long as there is a condition with a boolean (Bool) named "IsClicked" if you don't like the naming convention you will have to change it in the parameter and in the code or it won't work. Attach the script onto the animated object you want to move when clicked on and that's it for coding!
To break down this code in English. The code is looking for the Animator that is attached to object you put this script on, an Animator and this Script BOTH have to be on the same object for it to work. Then the code will tell the game to track your mouse movements and notice when you click on the object. This sets the parameter boolean to true which is how you get it to transition. Remember in the Animator when the condition to transition said "IsClicked True" that's where this code works, it's telling the Animator that the IsClicked is true. Then the "else if" statement is saying that once the mouse is not being pressed down anymore that IsClicked is false. Before I accidently had it set to "GetMouseButtonDown(1)" instead of Up and the animation kept looping thinking the mouse button was still down, making the statement always true. Coding is kinda cool if you can read it.
But there's one last thing we need for this code to work, a collider. Remember in the code I said it's looking for your mouse to click on the object, well in the computer and code, it can't see the object without a collider. On the object in hierarchy add a Collider Component, I prefer the Box Collider since this collider will not follow the movement of your object so you need to make sure the box is surrounding all parts of where you want to click on this object, open, closed, or otherwise.
Now that our transitions are set up to our new animations, the parameters are set up to work with the code and we have colliders on our objects, it's time to test our work.
Step 5: Testing our Work!
If you've followed all these steps correctly hopefully your game should look something like this.
Good Luck and have fun animating!
Leave a comment
Log in with itch.io to leave a comment.